Building Structure
The goal of mixing is to turn flour, water, salt, and yeast or starter into dough that is even, elastic, and strong enough to hold fermentation gas. You are not just waiting for the ingredients to combine; you are building structure while keeping the dough manageable for the recipe you are making.
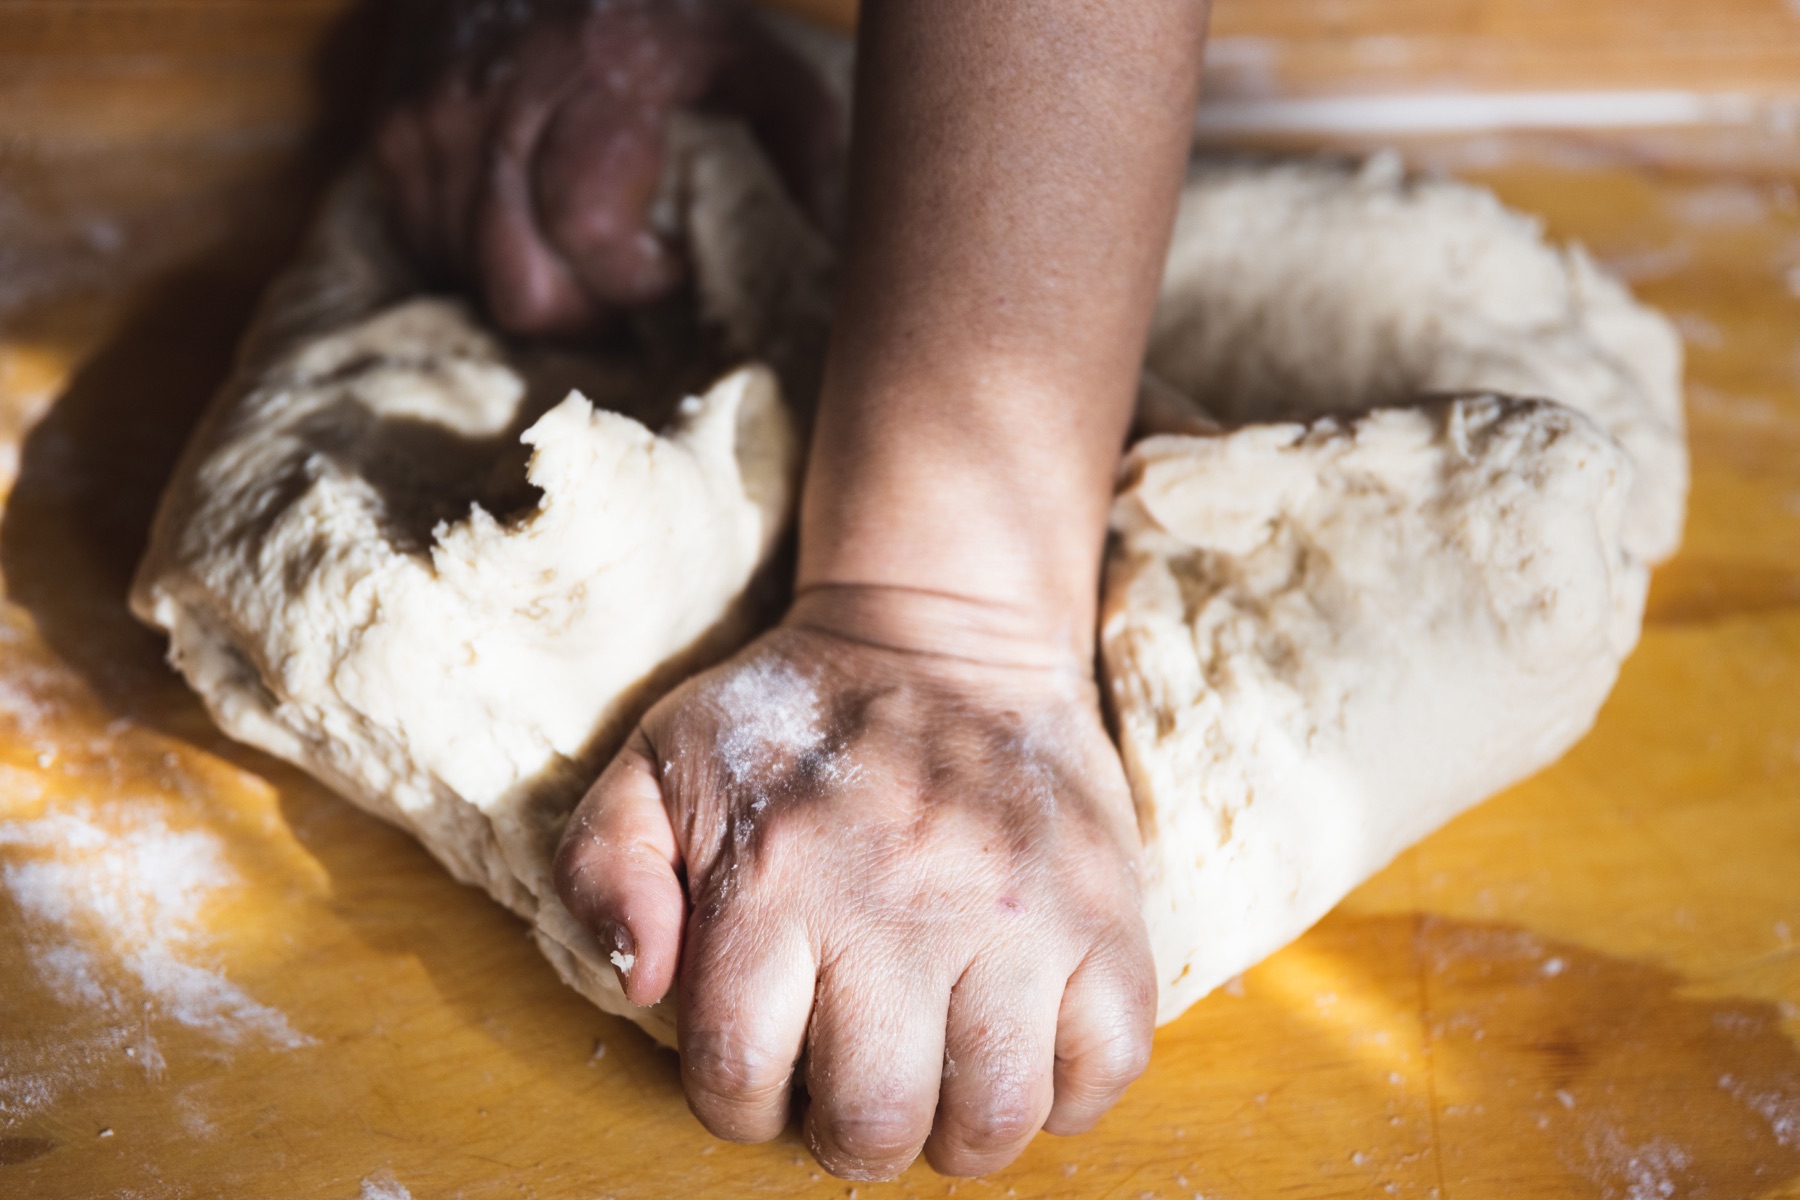
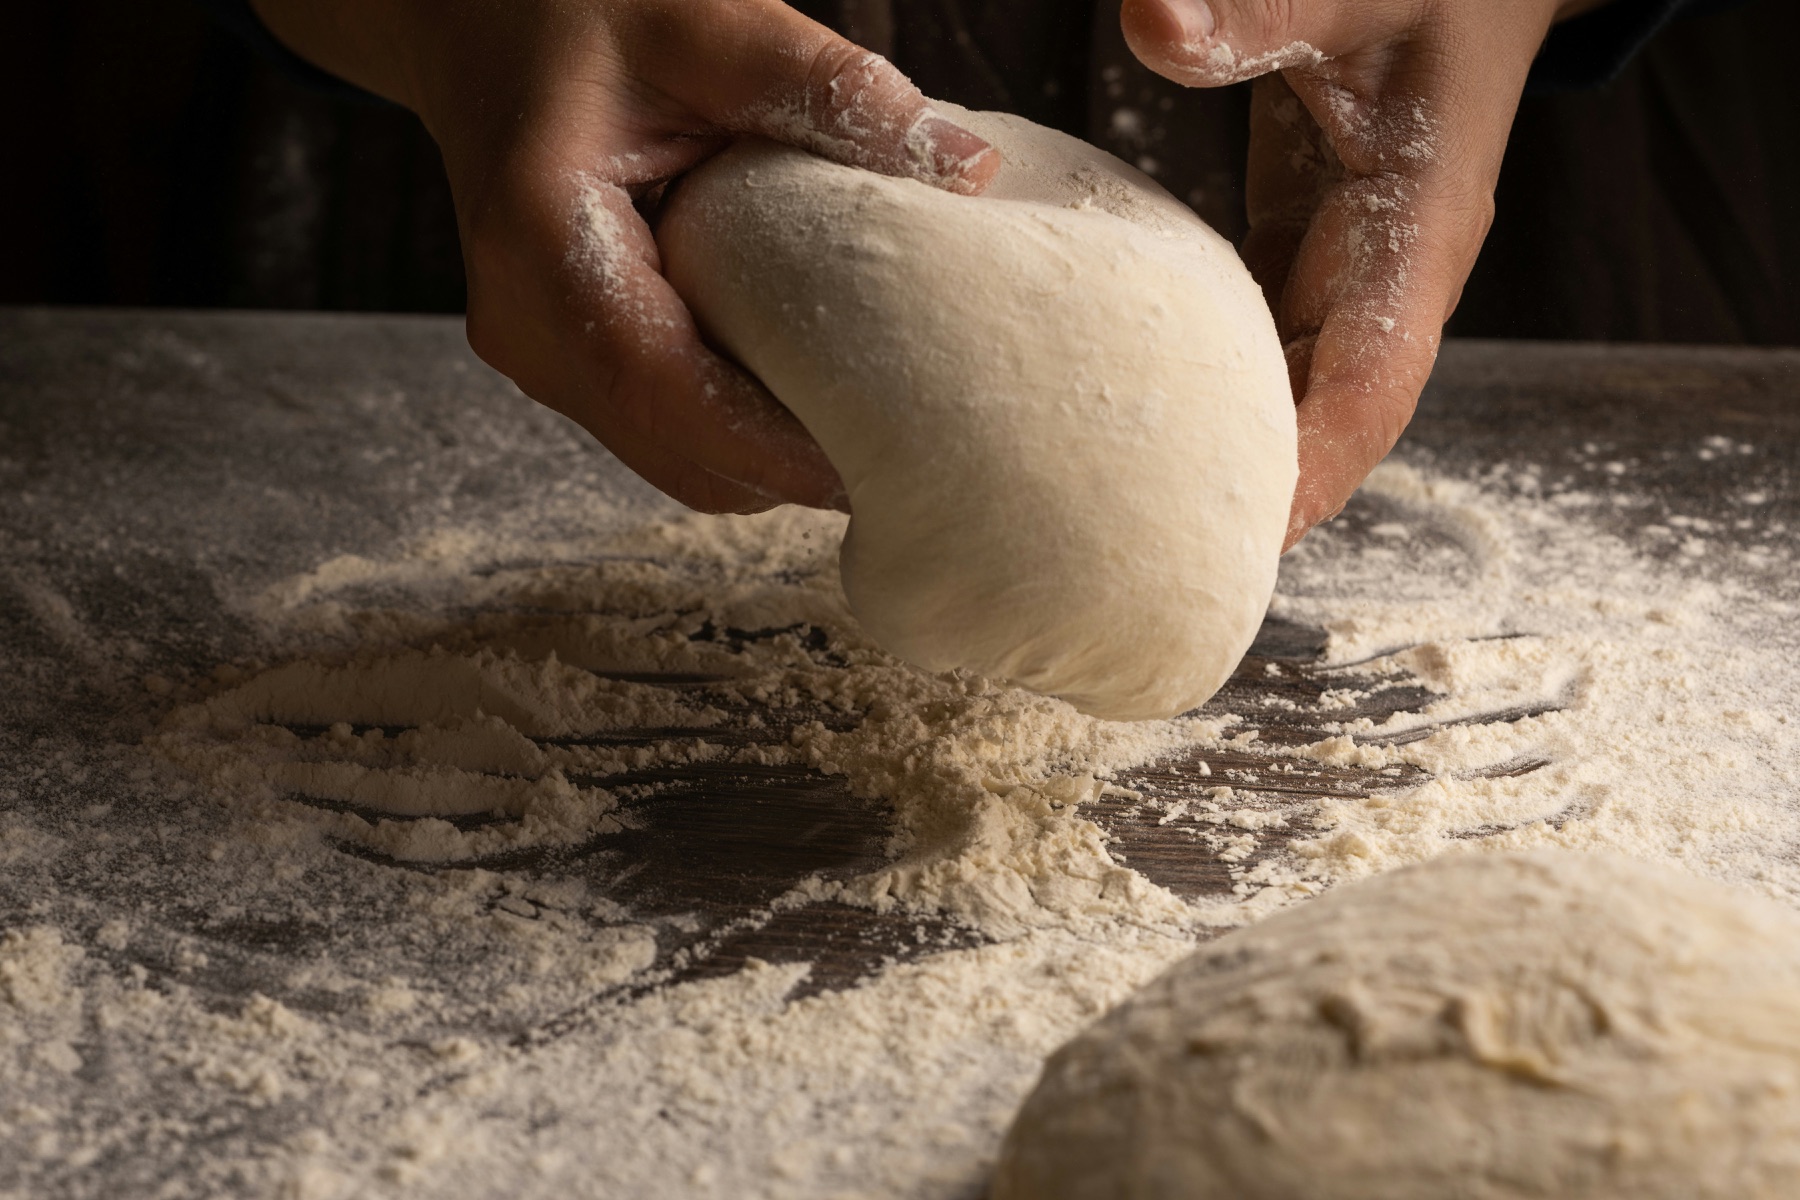
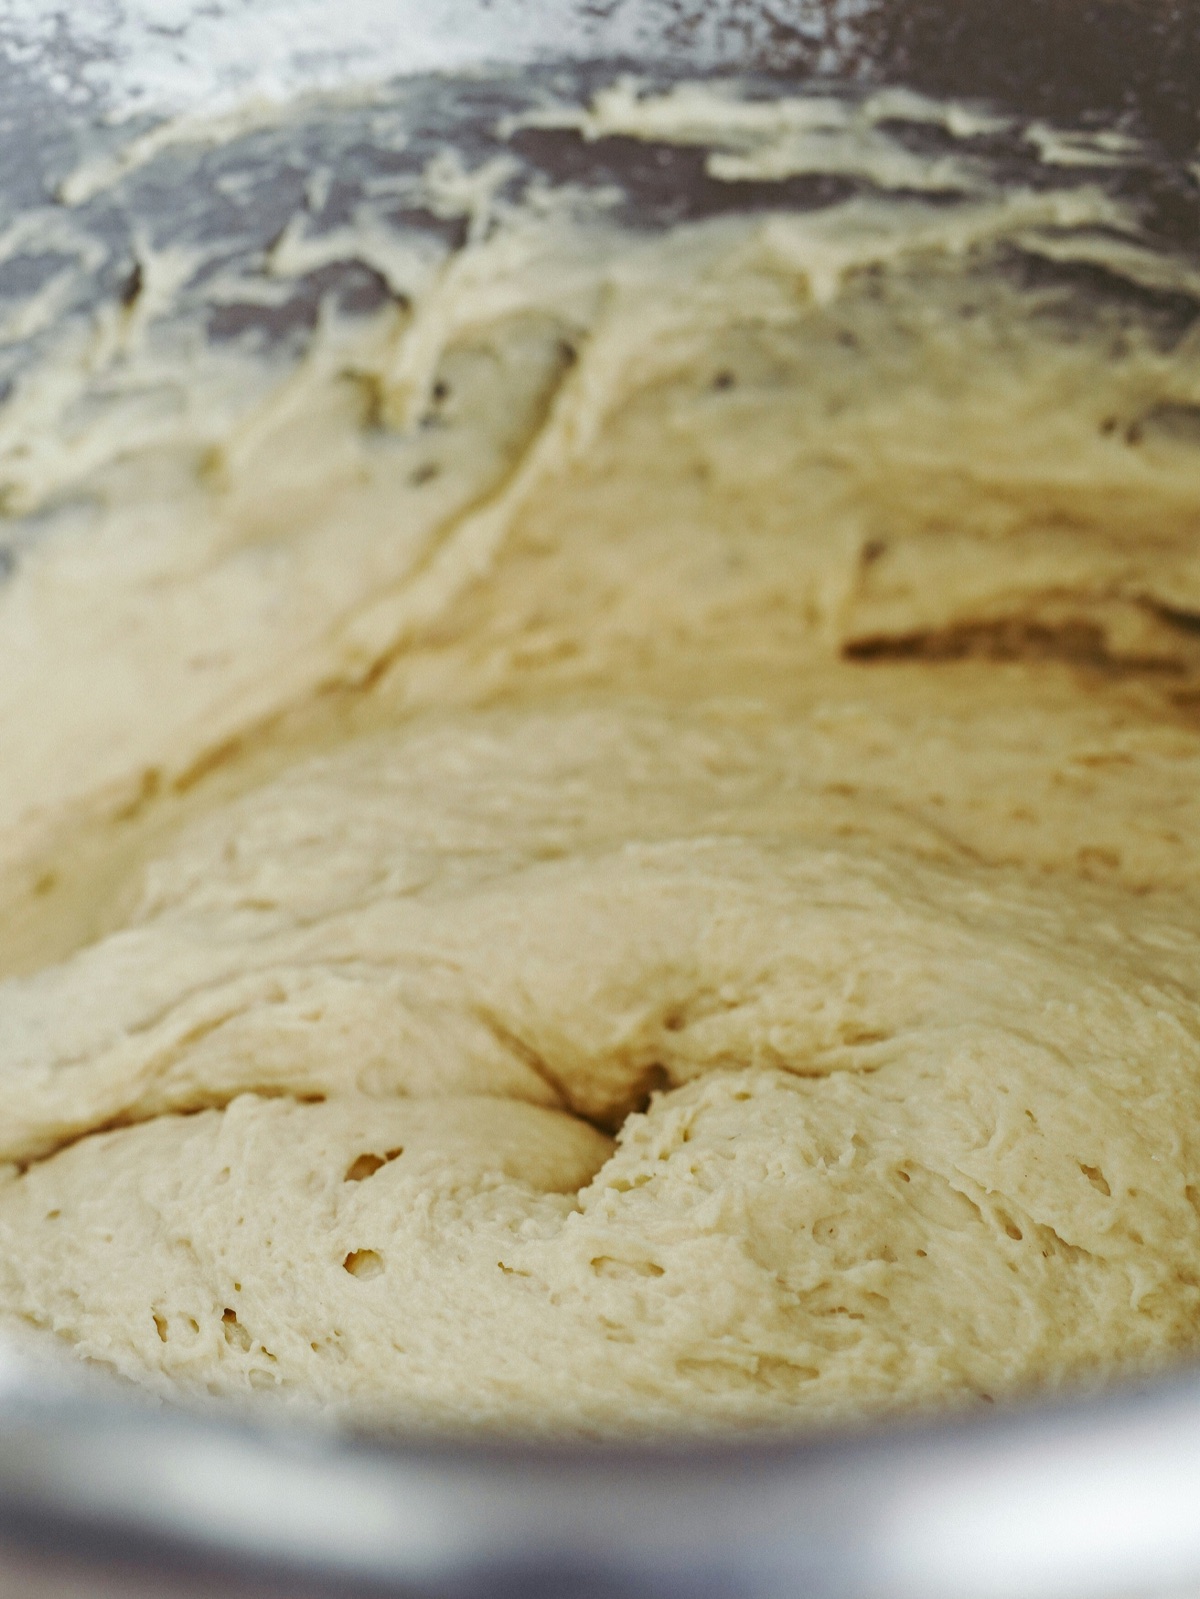
Once mixing starts, the dough usually looks shaggy, sticky, and uneven. As water works into the flour and the ingredients spread through the bowl, it gathers into a cohesive mass. With mixing, folds, or rest, that rough mass smooths out and becomes more elastic, springing back when you press or stretch it. As gluten continues organizing, the dough also becomes more extensible, stretching thinner before it tears. The target is enough strength and stretch for the bread, pizza, or pastry you are making.
Gluten is the network that makes that strength and stretch possible. Wheat flour contains glutenin and gliadin proteins; once they are hydrated, mixing and resting help them link into strands that run through the dough like a web. During fermentation, gas collects inside that web. If the web is too weak, the bubbles tear through it and the dough collapses. If it is strong but not extensible enough, the bubbles cannot expand and the dough resists rise and oven spring. By the end of mixing, the dough should be organized enough to hold gas and flexible enough to expand around it. King Arthur has a useful beginner guide to gluten if you want the longer version.
Once you know how a recipe behaves, that understanding lets you adjust the method to fit your tools and preferences: more hand mixing, more rest, a shorter machine mix, or a different mixer speed, as long as the dough reaches the same structure.
Stages of Development
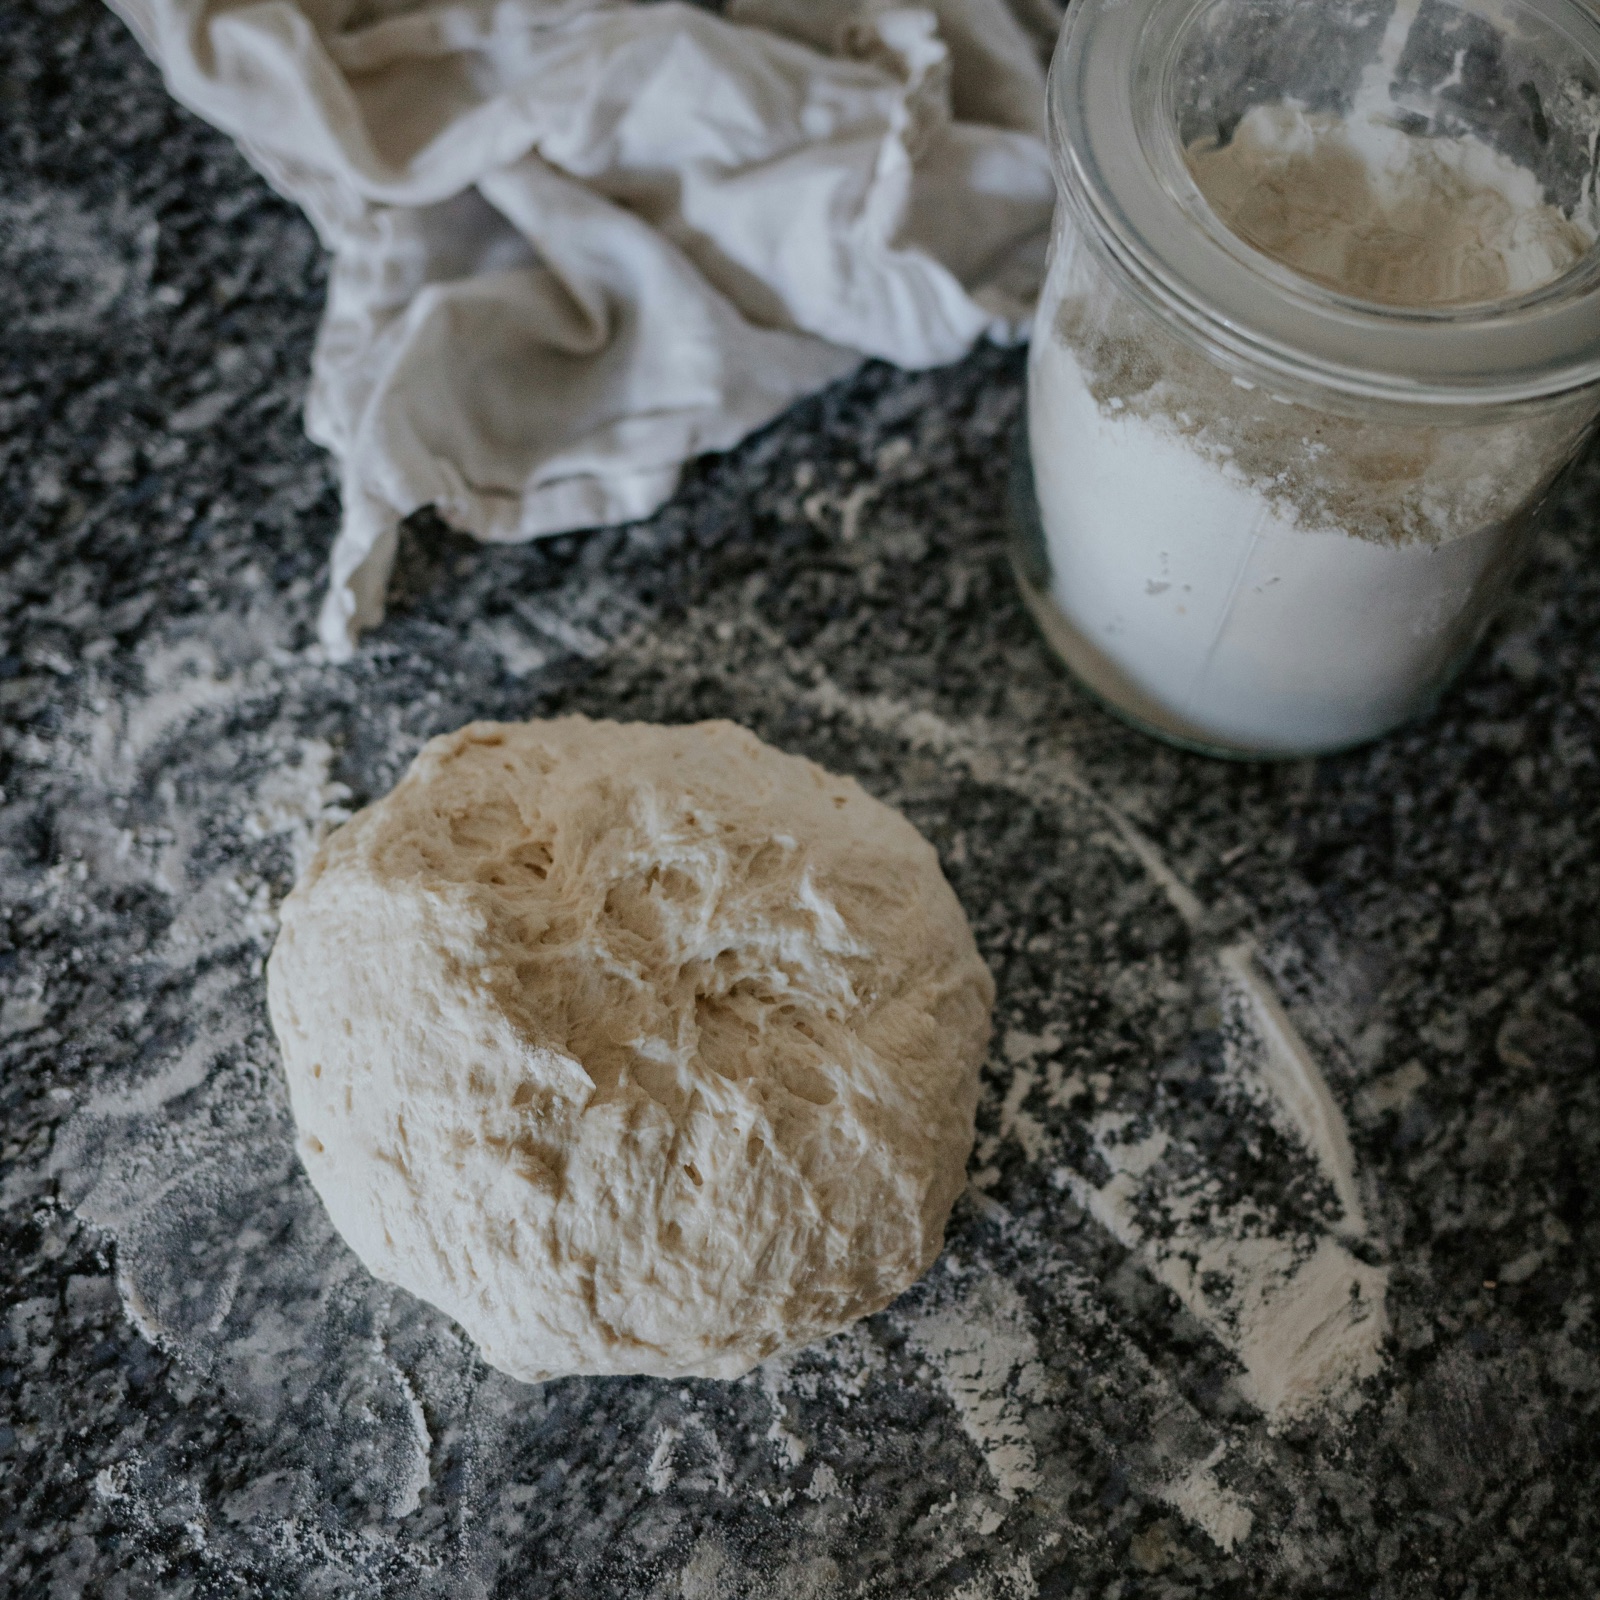
Dry flour disappears first. At the beginning, the main job is getting water into the flour. Scrape the bowl and fold through the dough until there are no dry pockets left.
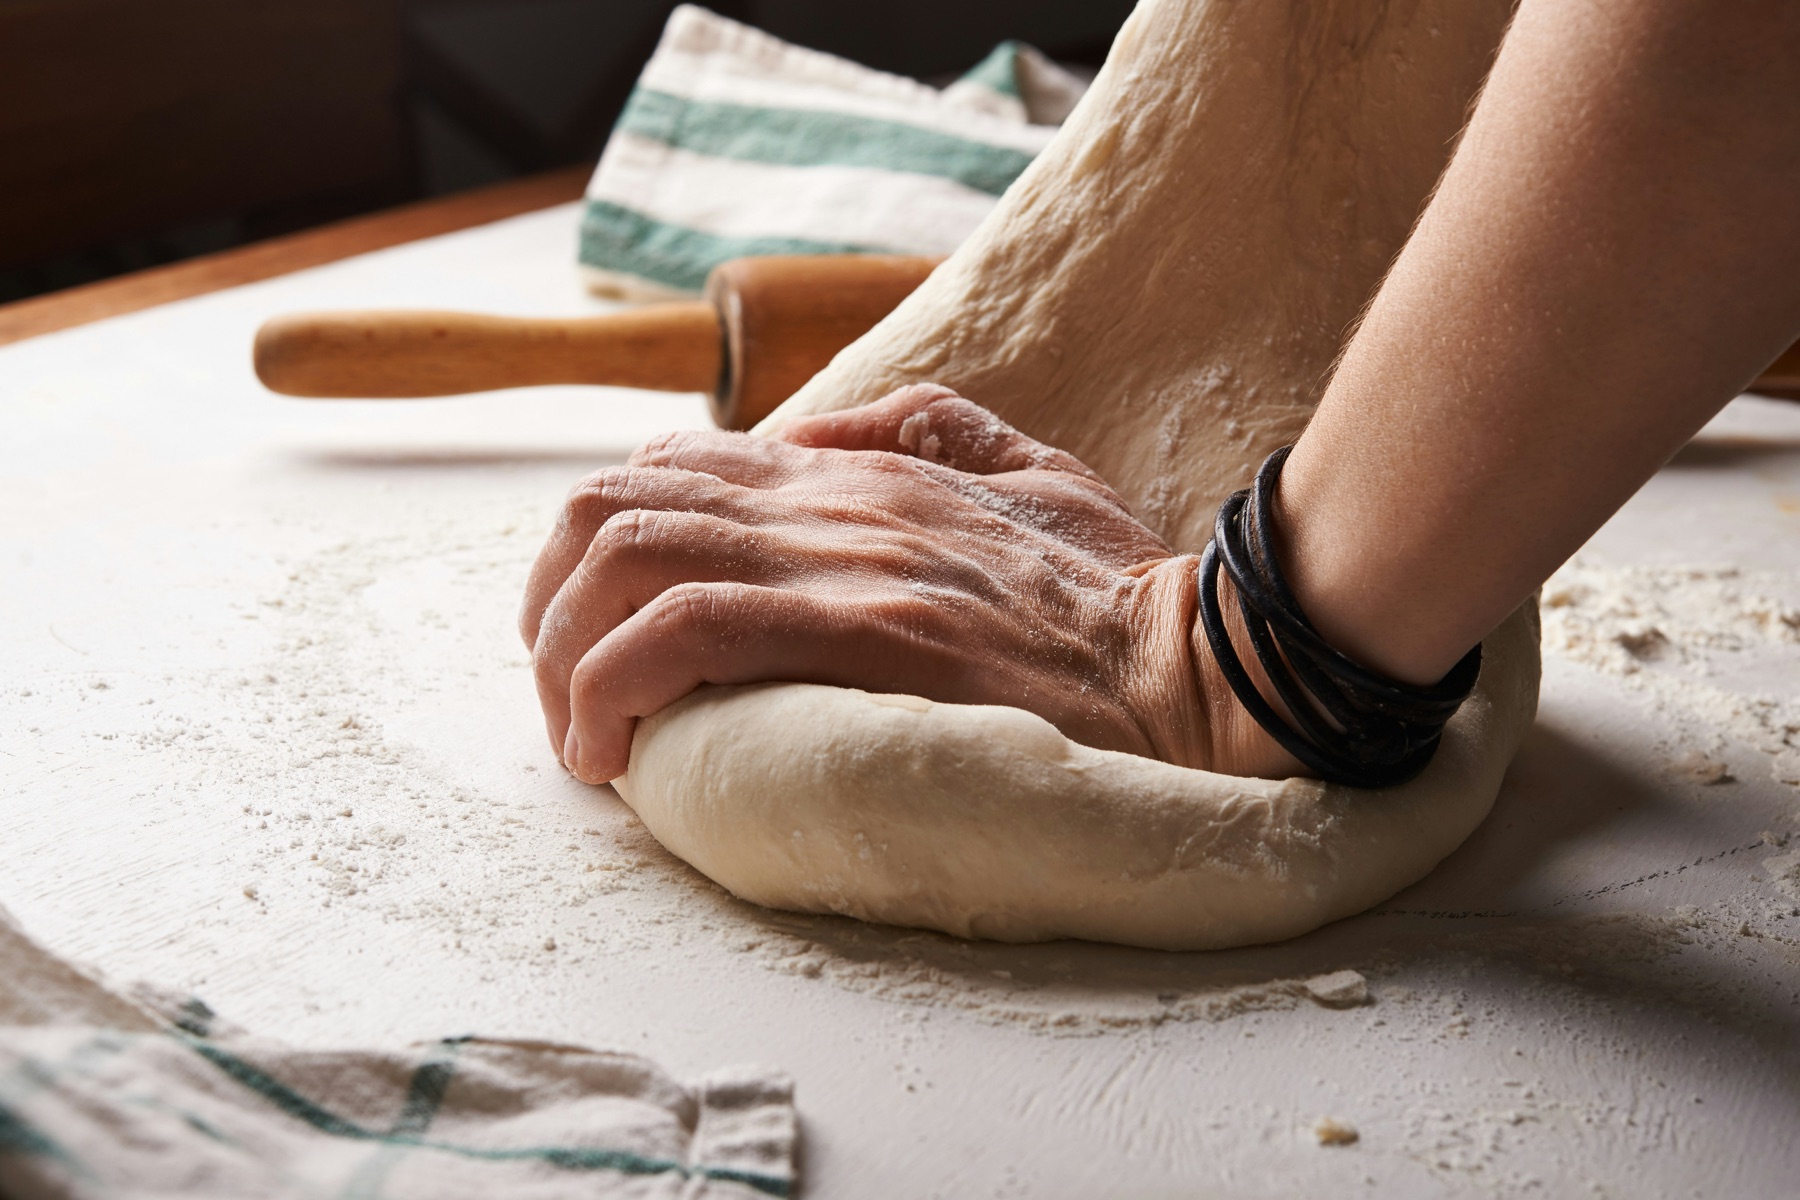
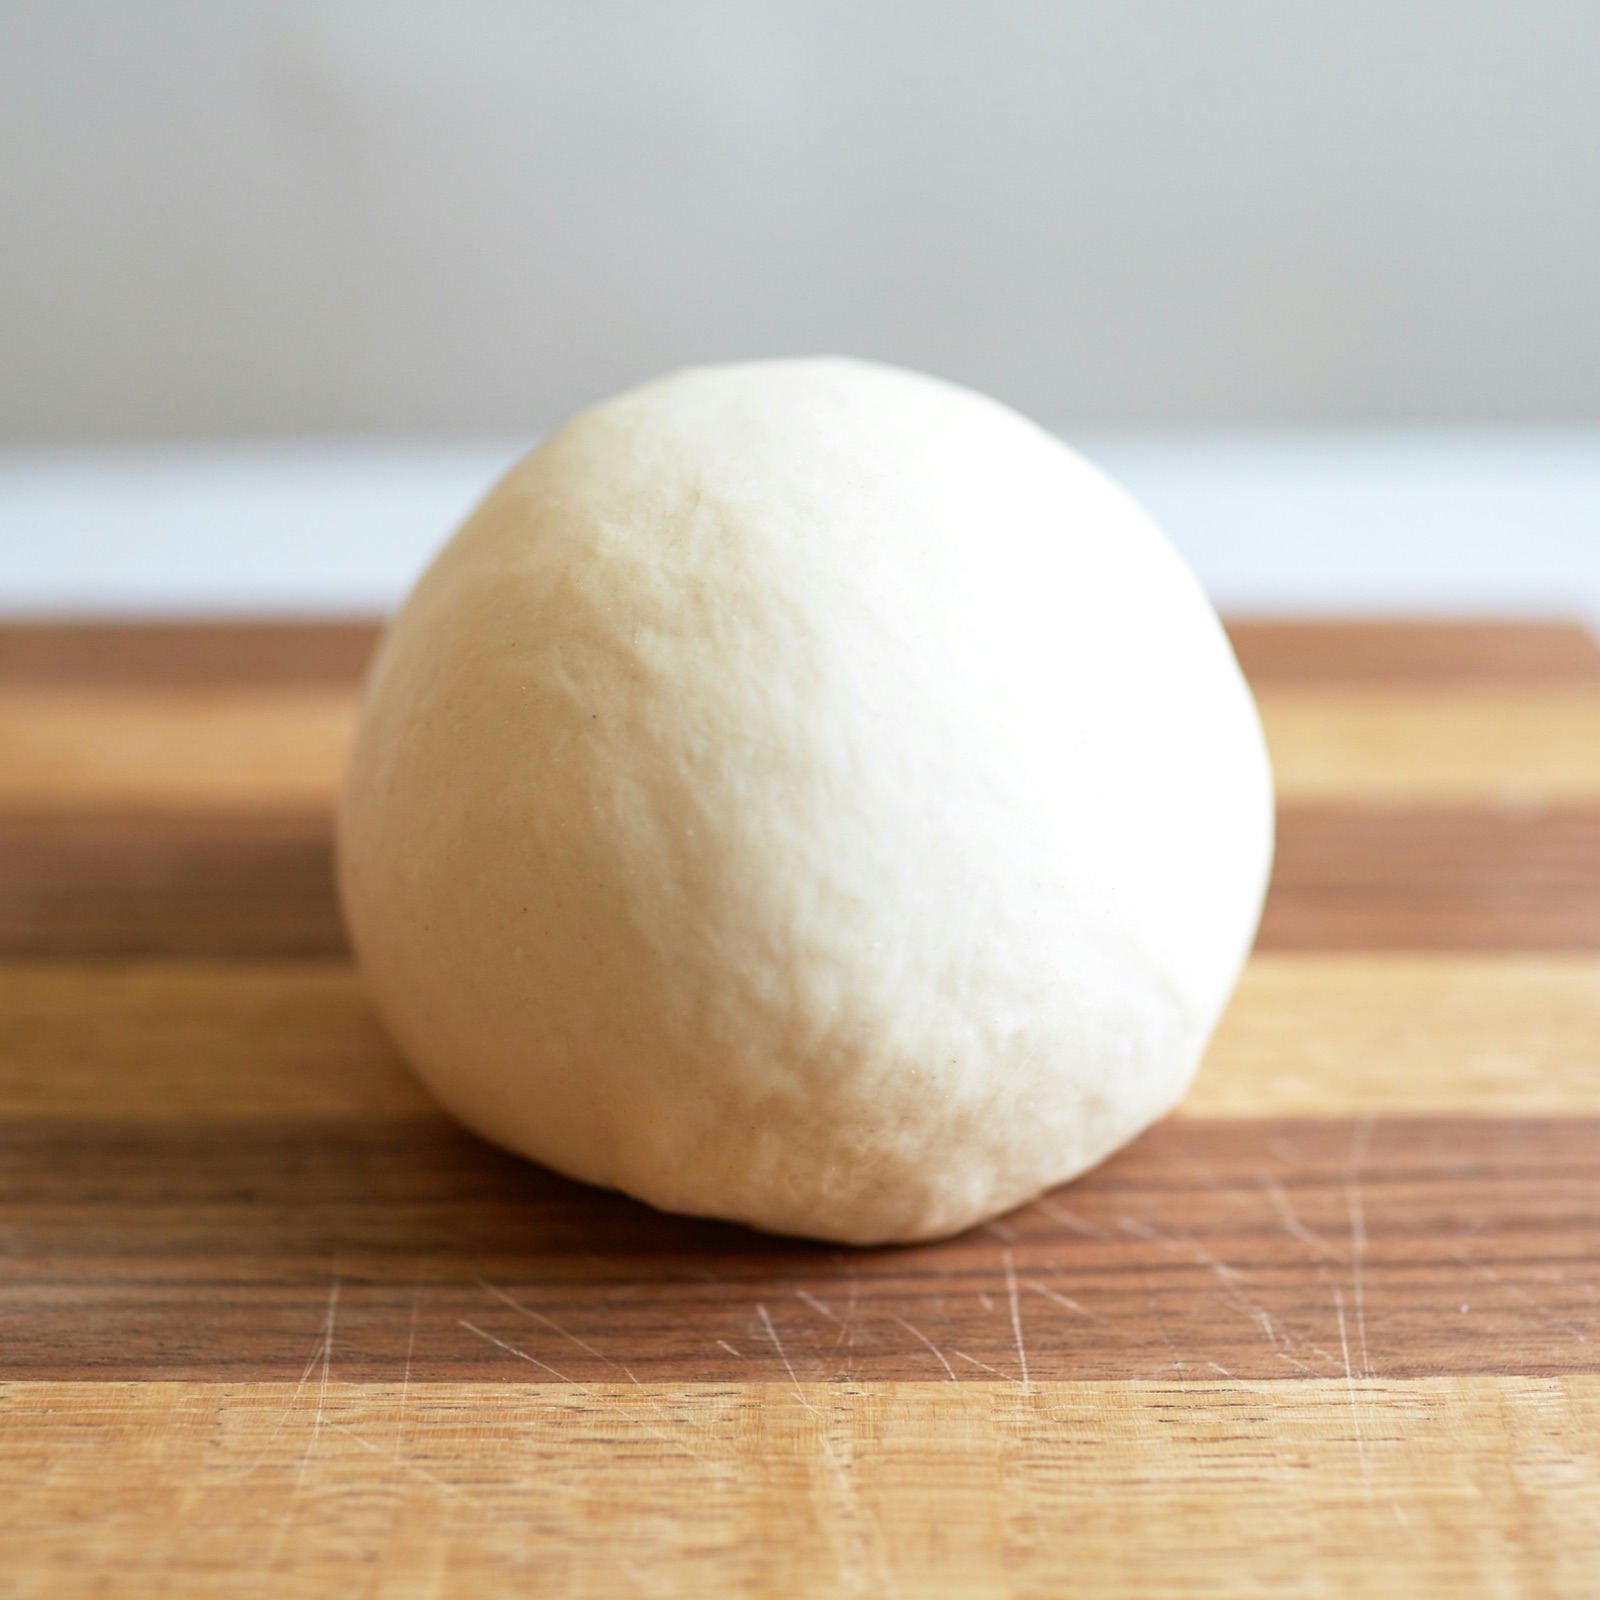
The surface begins to smooth after the flour is hydrated. Rest, folding, and mixing all help. The dough should feel less like torn paste and more like a stretchy sheet.
For many breads and enriched doughs, the goal before shaping is a strong enough gluten network to pass the windowpane test. Pinch off a small piece and gently stretch it. If it can get thin enough for light to pass through before tearing, the dough has enough structure to hold fermentation gas through shaping, proofing, and baking. King Arthur has a clear windowpane walkthrough.
A full windowpane is not necessary for every dough. Doughs that rest for many hours or cold proof over several days can start with a weaker windowpane because hydration, folds, and time continue organizing gluten while the dough rests. Doughs like Liege waffles also do not need the same strong, elastic sheet because they are enriched, pressed in a waffle iron, and should stay tender instead of developing like a tall loaf. Use the windowpane as evidence for recipes that need it, not as a rule for every mix.
Lean doughs
Lean doughs are mostly flour, water, salt, and yeast or sourdough starter. The first goal is an even dough: no dry flour, salt and yeast or starter distributed through the bowl, and enough structure that the dough moves as one mass.
From there, the goal depends on when the dough needs to be shaped. If it will be shaped soon, keep mixing or folding until it is smoother, more elastic, and strong enough for the recipe. If it will ferment for many hours, get folded during bulk, or cold proof for days, you can often stop earlier because time will keep hydrating the flour and organizing gluten.
When salt is added at the beginning of the mix, the rough-to-smooth stage usually takes longer. Salt tightens the dough and slows hydration, so it will take the dough more work or time to develop.
If you want the dough to stretch more easily with less mixing, combine only the flour and water, let that rough dough rest, then add the salt and yeast or starter afterward. This approach is called an autolyse. It can help tight dough relax, but it is not always useful: long-rest pizza has hydration time naturally built into a proofing step that spans days. King Arthur's autolyse guide goes deeper.
Enriched doughs
Enriched doughs contain fat, sugar, eggs, milk, or butter. Fat can coat flour and slow gluten formation, so many doughs mix better when butter is delayed until the dough is already cohesive and elastic. Letting the dough rest for about 10 minutes before adding butter or other fat can also help gluten organize before the fat goes in. Butter should be pliable: cool, bendable, and able to incorporate without tearing the dough.
Developing enriched dough fully by hand is possible, but it is a much longer and more demanding job once butter or a lot of sugar is involved. Work in short rounds of pressing, stretching, and folding with rests between them, rather than trying to knead it continuously. The finished dough should no longer look greasy or torn; it should feel smooth, elastic, and supple, hold together as a glossy mass, and stretch into a thin windowpane before it tears. This can take well over 30 minutes of active work, spread across those rests.
A planetary mixer usually reaches that final stage in about 10 to 20 minutes after the butter is fully incorporated; a spiral mixer may take 5 to 10 minutes. Those are starting ranges, not a target to chase. In either mixer, stop to scrape the bowl and pull the dough down from the hook when needed, then check for a smooth, elastic windowpane. A planetary mixer can make the dough climb the hook, smear against the bowl, and warm quickly. A spiral works faster, so check sooner and more often once the dough starts looking cohesive.
Dough Temperature
Mixing builds gluten, but it also warms the dough. The temperature when mixing ends, called the final dough temperature, is the starting point for the first rise. The goal is to finish near the temperature the recipe expects, so the dough ferments on schedule without losing the structure you just developed.
As dough rests, protease enzymes naturally present in flour gradually cut some of the protein chains in the gluten network. This process is called proteolysis. A limited amount helps the dough relax and stretch. If it goes too far, the network loses strength and the dough becomes slack, sticky, difficult to shape, and less able to hold fermentation gas. Warmer dough moves through this process faster, so final dough temperature controls more than the fermentation schedule; it also affects how quickly the structure begins to soften.
Check the final dough temperature as soon as mixing ends. Same-day yeast dough often lands around 75-78F. Next-day sourdough can land around 75-77F, but warmer dough gives you less margin before it gets ahead of its schedule. Several-day cold-proof pizza dough often benefits from a cooler finish around 71-72F. When dough finishes too warm, both fermentation and proteolysis move faster, so the dough may become sticky and difficult to shape sooner than the recipe suggests.
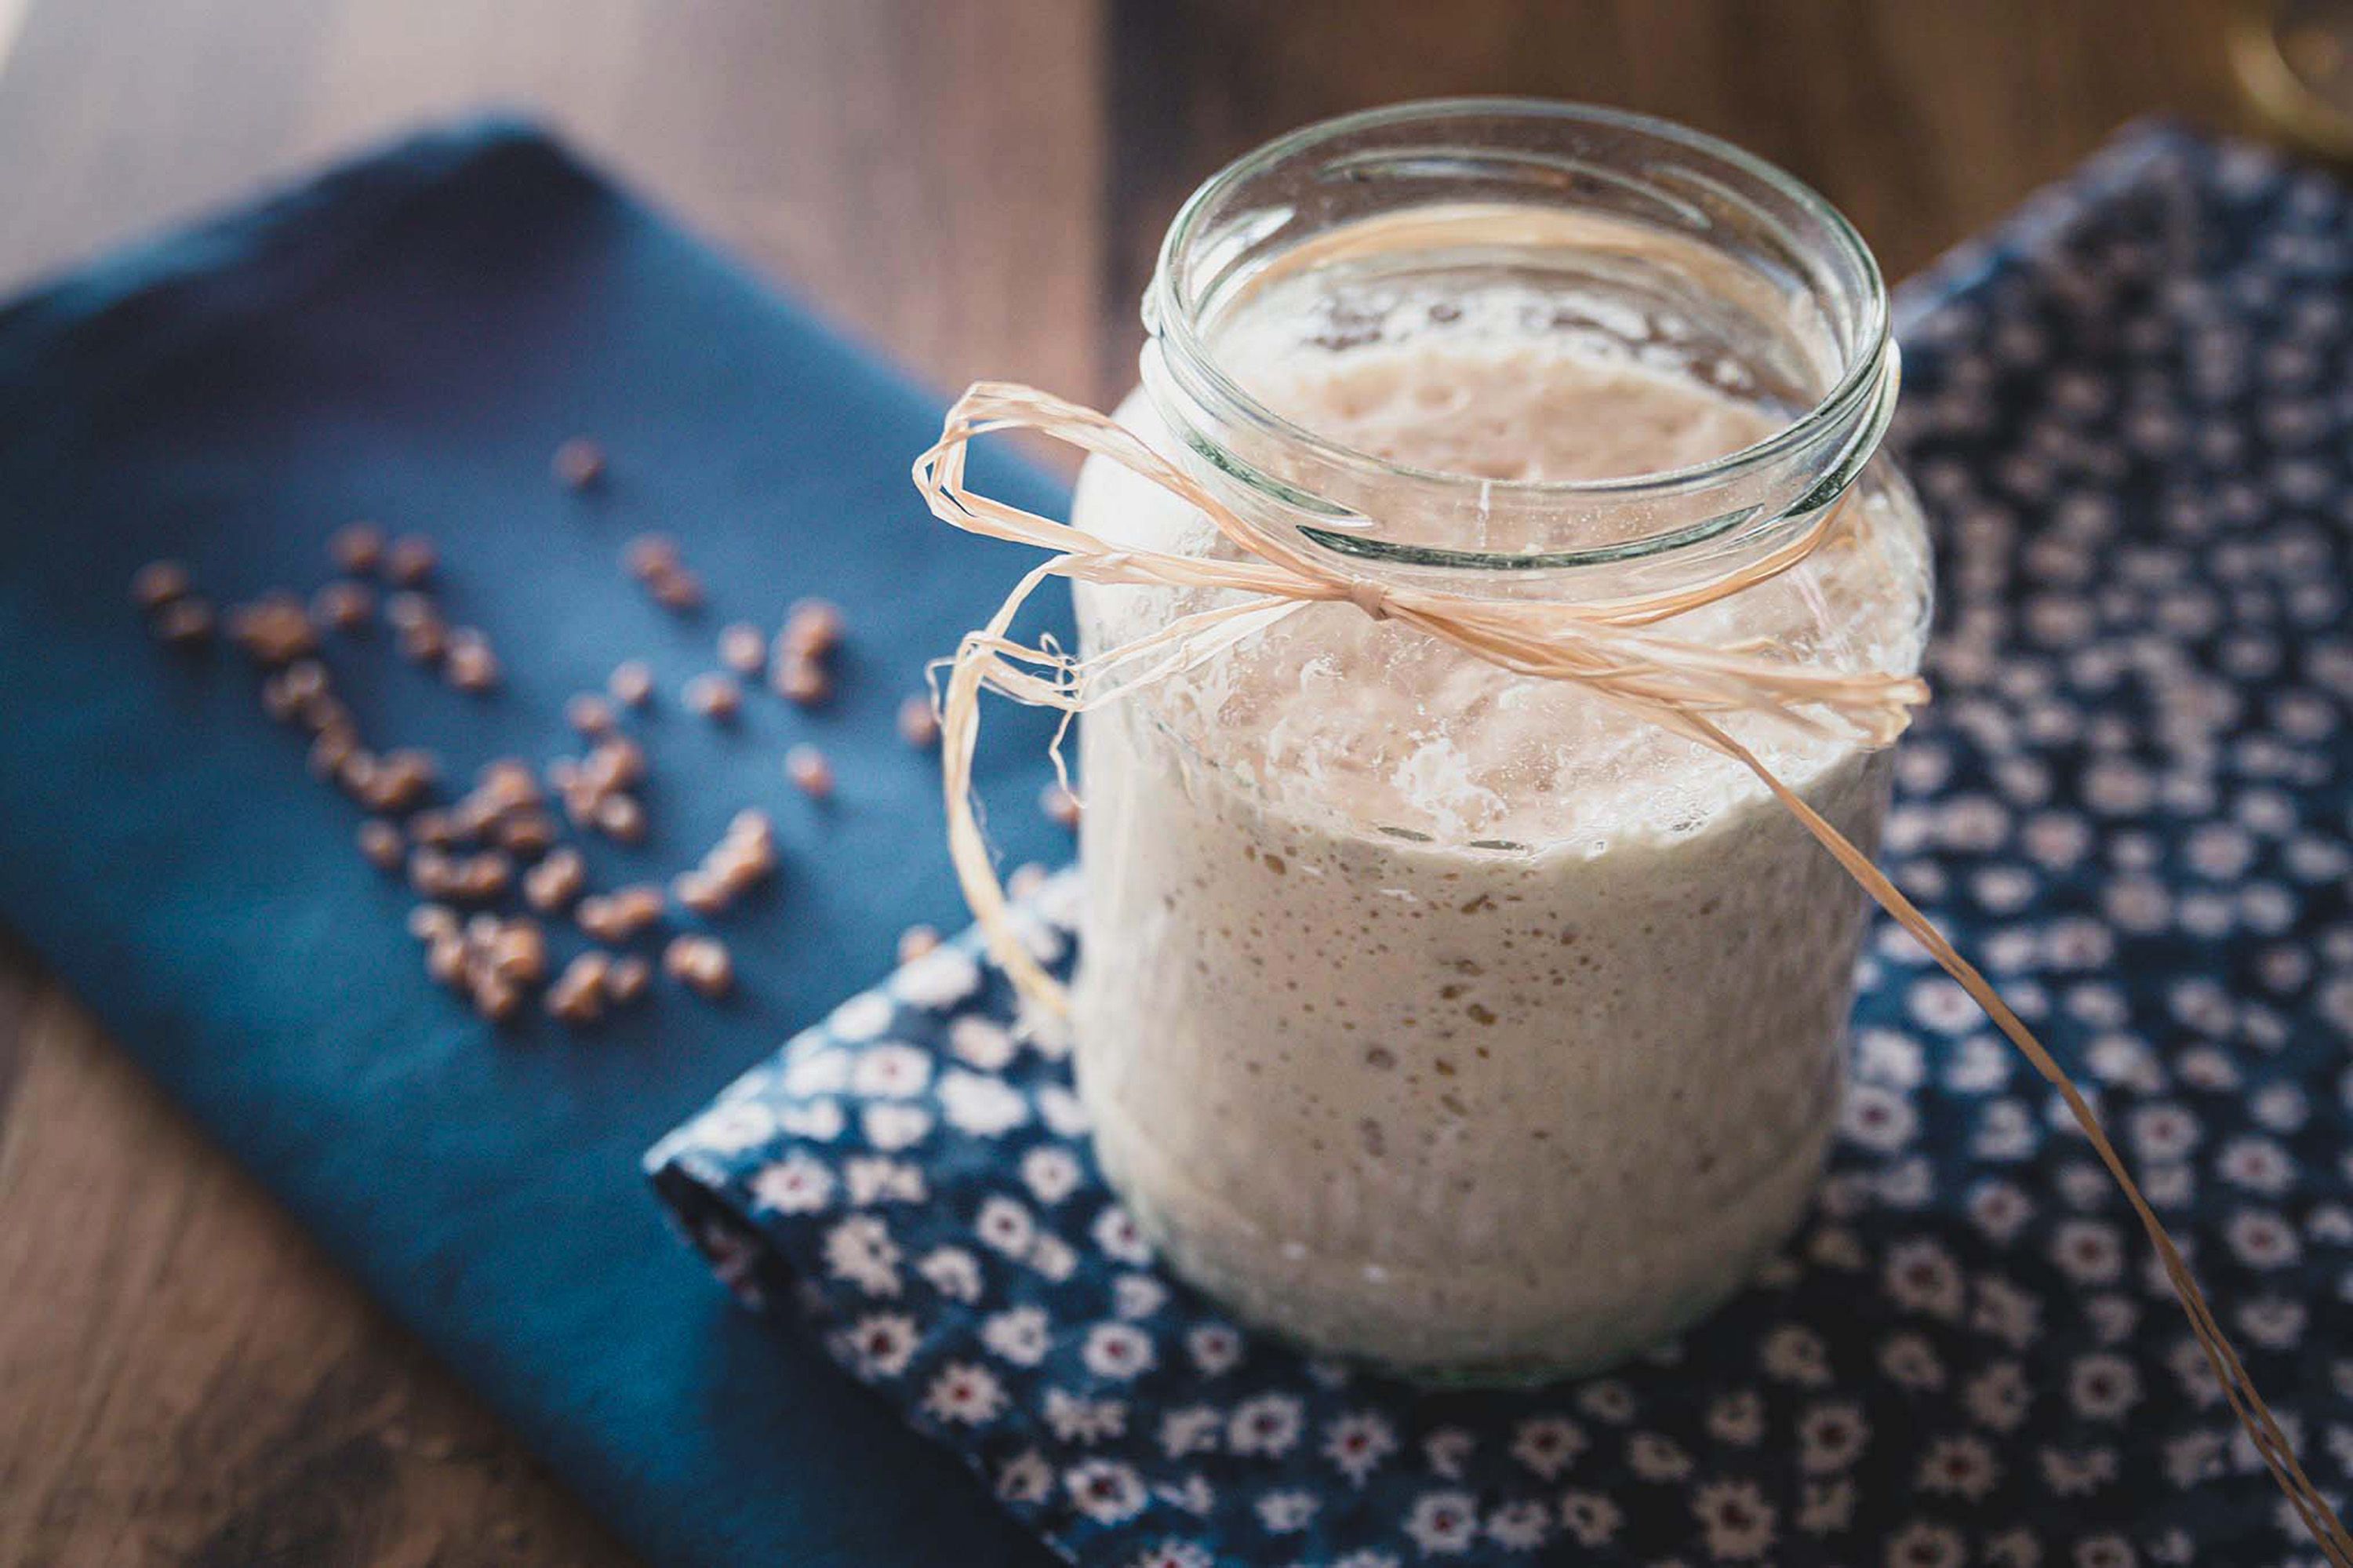
Sourdough is a useful special case. If a long bulk fermentation regularly leaves the dough sticky or weak, try finishing near 72F, keeping the bulk at or below 72F, and allowing more time instead of using more warmth. A lower-hydration starter can support this approach and help the dough retain strength, but it does not simply make the final dough drier: starter maturity, acidity, inoculation, flour, and the formula's total hydration still affect the result. Keep those variables in mind when comparing methods, and judge the end of bulk by the dough's rise and strength rather than by the clock alone. The goal is controlled maturation: enough time to build flavor potential without weakening the dough before it reaches the oven.
Spiral mixers can add heat quickly through mixing friction. When a dough needs a cool final temperature, use very cold water or replace part of the mix water with crushed ice. Weigh the ice as part of the recipe's total water; it melts as you mix and absorbs some of that friction heat.
Enriched dough often needs a longer final mix, so cool butter helps keep the dough from getting too warm while it develops. The butter still needs to be pliable enough to incorporate cleanly. To get both, place very cold butter between sheets of parchment and beat it with a rolling pin until it flexes without cracking. It can stay cold while becoming workable enough to add gradually, helping the dough reach full development without climbing too far above its target temperature.
Methods at a Glance
Hand mixing
Hand mixing gives you the most direct way to track dough development, especially with sourdough or small batches. It adds very little friction heat, but it is slower and easier to underdo. Sticky doughs tempt you to add too much bench flour, stiff autolysed doughs can resist folding, and enriched doughs can be exhausting to develop fully by hand.
Planetary mixer
A planetary stand mixer is the common home-machine option and can handle many lean doughs and some enriched doughs. It often adds less heat than a spiral mixer, but its mixing action can be inefficient: dough can climb the hook, smear against the bowl, or rotate without getting stretched and worked consistently. That makes full gluten development, and a strong windowpane, difficult to achieve in many doughs. Stop to scrape the bowl and pull the dough down from the hook, then judge progress by the dough's smoothness and stretch rather than the clock alone.
Spiral mixer
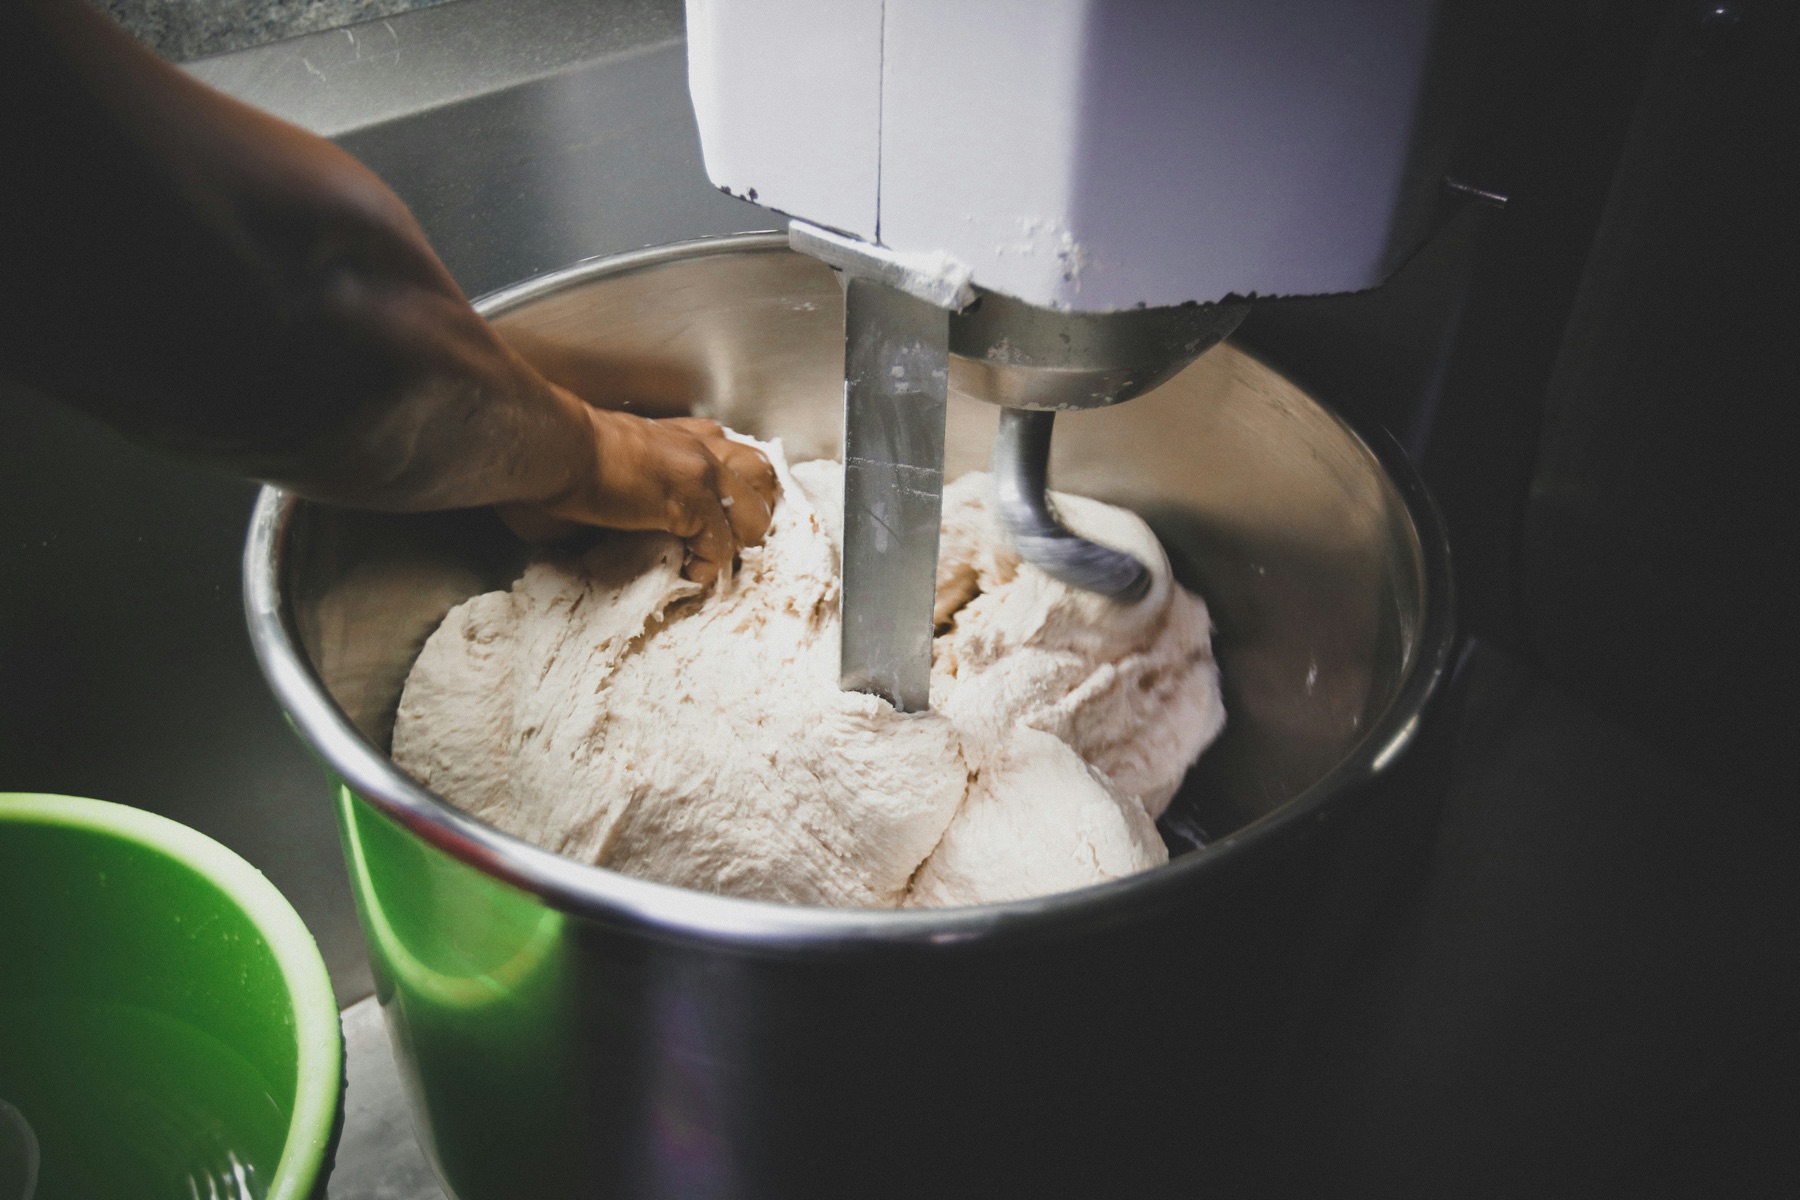
A spiral mixer develops gluten efficiently and is strong for pizza, bread, sourdough, and larger batches. As the dough develops, look for a pumpkin shape: a single pleated mass gathered around the spiral and breaker bar at the center of the bowl. That shows the mixer is engaging the dough rather than simply dragging it around the bowl. It usually reaches the desired development faster than the other methods, which is the benefit and the risk. Use the pumpkin as a visual cue, then confirm the dough's stretch and temperature before deciding it is ready.